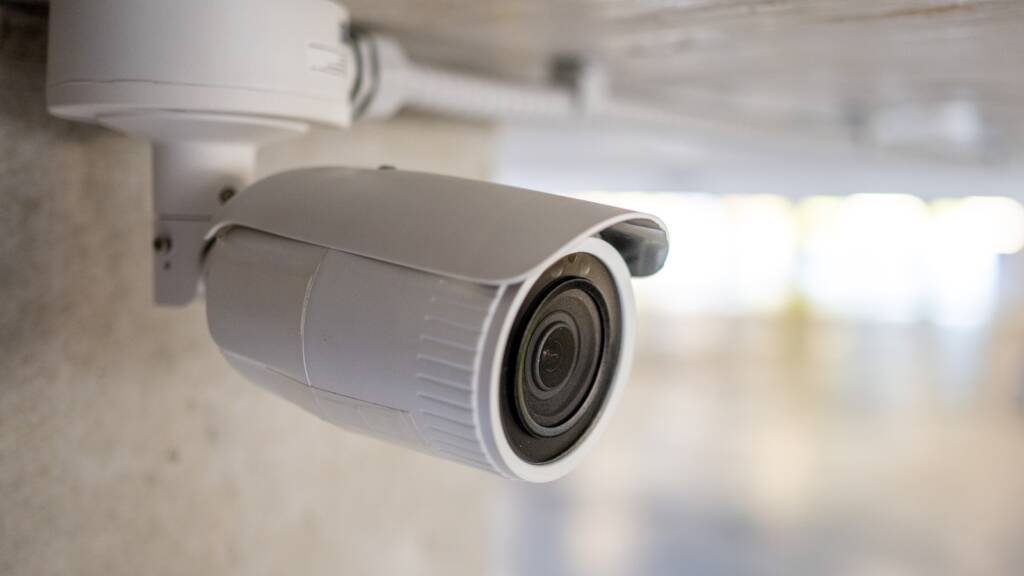
Security cameras have become a cornerstone of modern safety, acting as a powerful deterrent and providing invaluable peace of mind. A proper security camera setup not only discourages potential intruders but also empowers you with constant vigilance over your property. Whether for your home or business, a well-planned installation is the first step toward a more secure environment.
This guide will walk you through everything you need to know, from choosing the right equipment to the final configuration, ensuring you achieve a robust and reliable security solution.
Why a Security Camera Setup is Essential
A professional security camera setup is about more than just recording; it’s a proactive defense strategy.
- Powerful Deterrence: A visible security camera is often enough to make a would-be intruder reconsider. It sends a clear message that your property is monitored and protected.
- Constant Monitoring: With remote access, you can view live footage from your smartphone or computer anytime, anywhere. This constant vigilance ensures you’re always connected to the safety of your home or business.
- Actionable Evidence: In the event of an incident, your camera footage serves as critical evidence for authorities, helping to identify culprits and bring them to justice.
Choosing the Right Security Camera
The first step in any successful security camera installation is selecting the right device. The market is full of options, each with unique features for different needs.
Wired vs. Wireless
- Wired: Offers a stable, reliable connection and consistent power supply. Ideal for permanent installations where aesthetics are less of a concern.
- Wireless: Provides flexible placement options without the hassle of running cables. Great for quick setups and hard-to-reach areas, but may be susceptible to signal interference.
Indoor vs. Outdoor
- Indoor Cameras: Designed for discreet monitoring of interior spaces. They are typically smaller and less obtrusive.
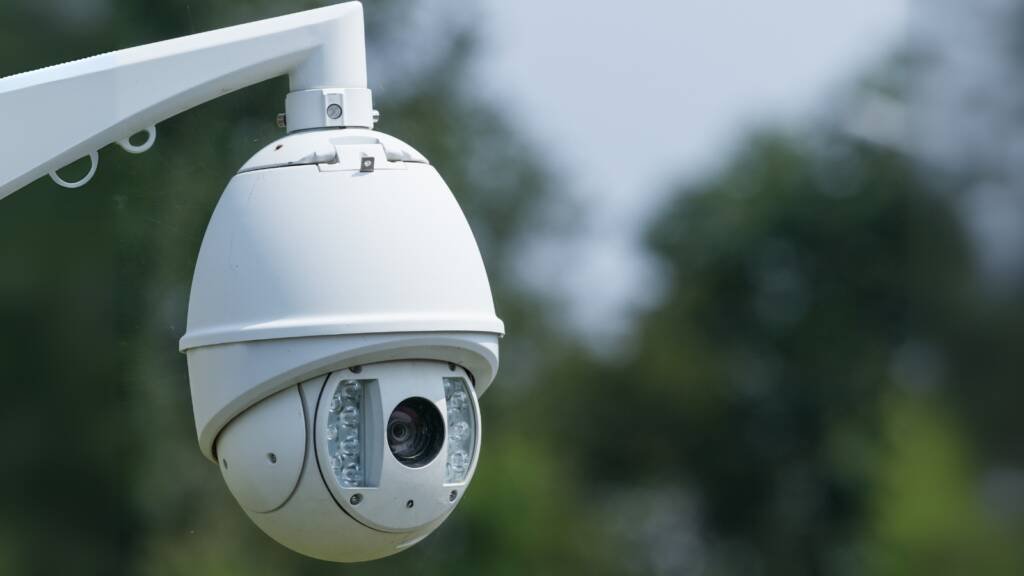
- Outdoor Cameras: Built with durable, weatherproof casings to withstand rain, snow, and extreme temperatures. They often feature higher resolution and a wider field of view.

Key Features to Look For
- Night Vision: Essential for 24/7 monitoring. Infrared (IR) technology allows for clear video capture in low-light or total darkness.
- Motion Detection: This smart feature alerts you to any unexpected movement, helping you to act on potential threats in real time.
- Remote Access: The ability to view live and recorded footage from your mobile device or computer is crucial for monitoring your property while you’re away.
Planning Your Security Camera Installation
Strategic planning is the most important part of a successful security camera setup. A little foresight goes a long way toward maximizing your system’s effectiveness.
Step 1: Property Assessment & Layout
Before you mount a single camera, walk around your property. Identify all entry points, valuable assets, and potential blind spots. Create a simple layout plan that maps out where each camera will be placed to ensure complete coverage without overlap.
Step 2: Consider Lighting & Aesthetics
Assess the lighting conditions for each camera location. For low-light areas, ensure you use a camera with strong night vision capabilities. Also, consider the aesthetics—cameras should be visible enough to act as a deterrent but placed discretely to maintain the visual appeal of your property.
Tools and Equipment You’ll Need
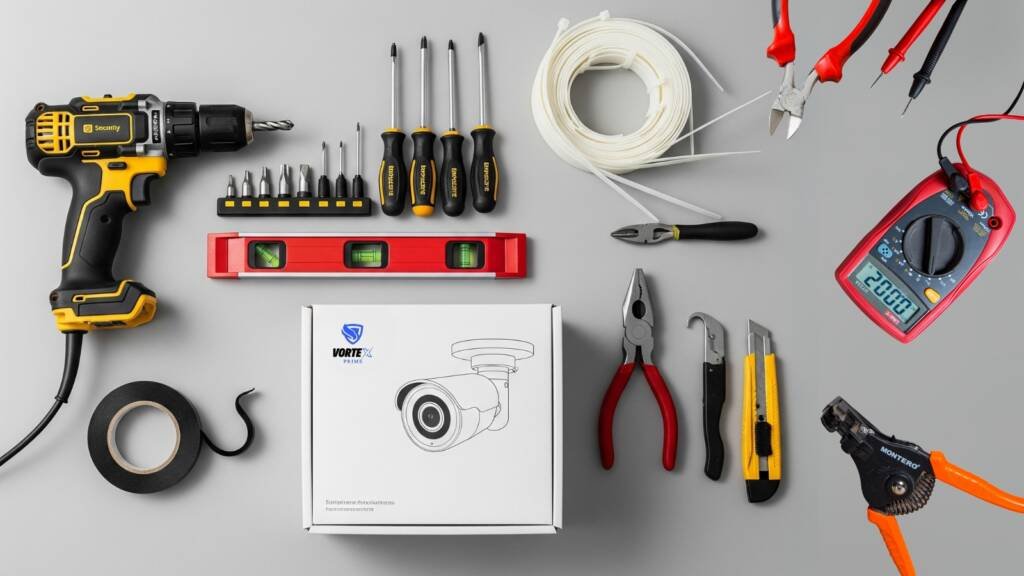
Gathering the right tools beforehand will make your security camera installation run smoothly and efficiently.
- Drill: To securely mount cameras to various surfaces.
- Screwdrivers & Pliers: For fastening components and managing cables.
- Zip Ties: To neatly organize and secure cables, reducing clutter.
- Level: To ensure cameras are installed at the correct angle for optimal viewing.
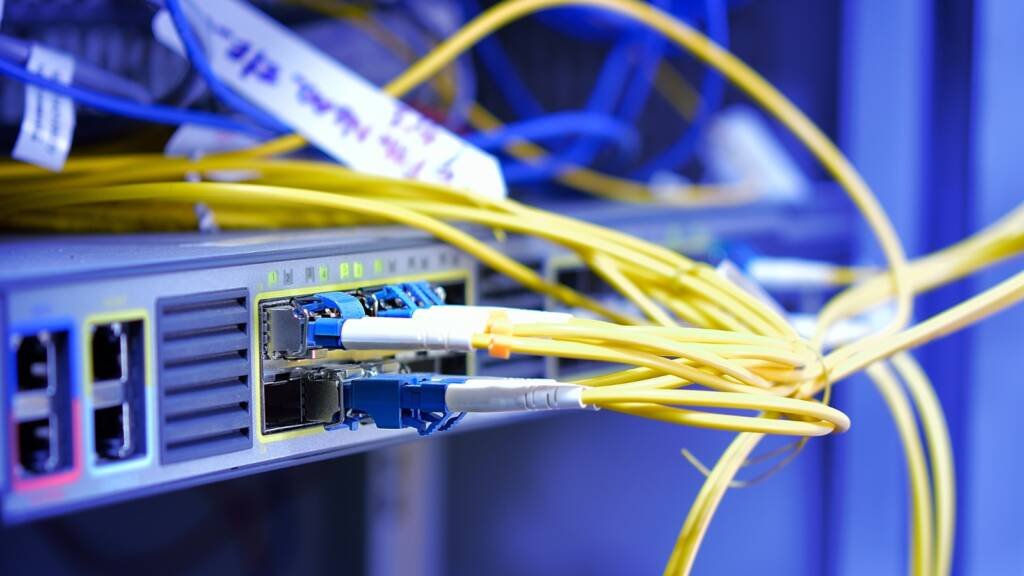
- DVR or NVR: A Digital or Network Video Recorder for storing and managing your footage.
Step-by-Step Installation Guide
Follow these steps for a seamless and secure camera setup:
- Mark the Location: Using your layout plan, mark the exact spots for each camera at a height of 8-10 feet for a wide field of view.
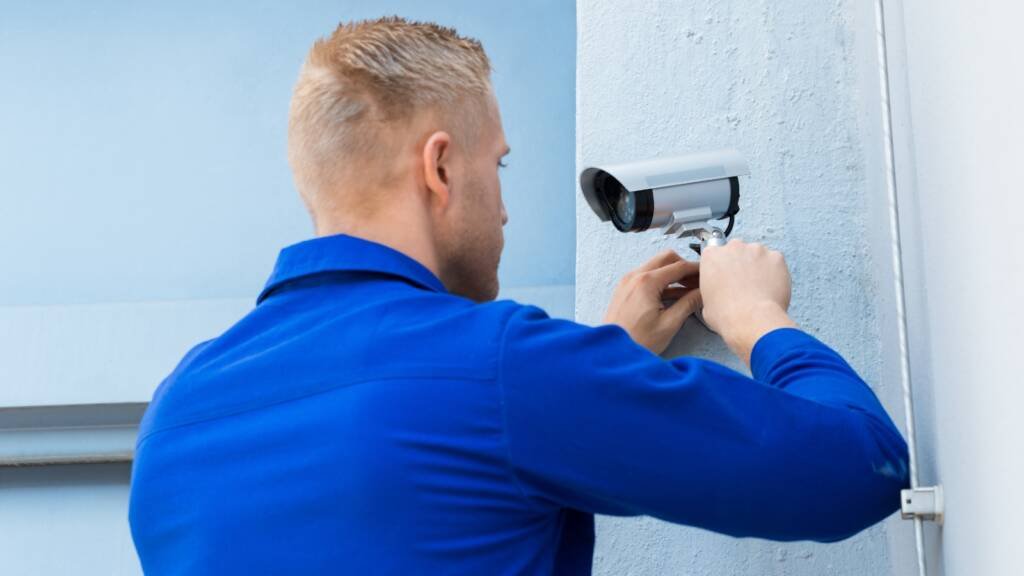
- Drill and Mount: Drill the marked holes and use wall anchors to securely attach the camera’s mounting bracket.
- Attach the Camera: Securely mount the camera to the bracket.
- Connect Power & Network: Plug in the power supply and connect the camera to your network (via Ethernet or Wi-Fi).
- Configure: Use the manufacturer’s app to connect the camera to your Wi-Fi, adjust the viewing angle, and test the live feed.
Optimizing Your Camera’s Settings
Once your camera is physically installed, proper configuration is essential for optimal performance.
- Adjust Angles: Ensure each camera’s field of view covers the intended area without obstructions.
- Enable Motion Detection: Set the sensitivity to an appropriate level to avoid false alarms while still capturing relevant events.
- Set Up Notifications: Enable push notifications on your smartphone to receive real-time alerts when motion is detected.
- Secure Your Network: Change all default passwords immediately and use strong, unique credentials. For an added layer of protection, consider enabling two-factor authentication if available.
Testing & Troubleshooting
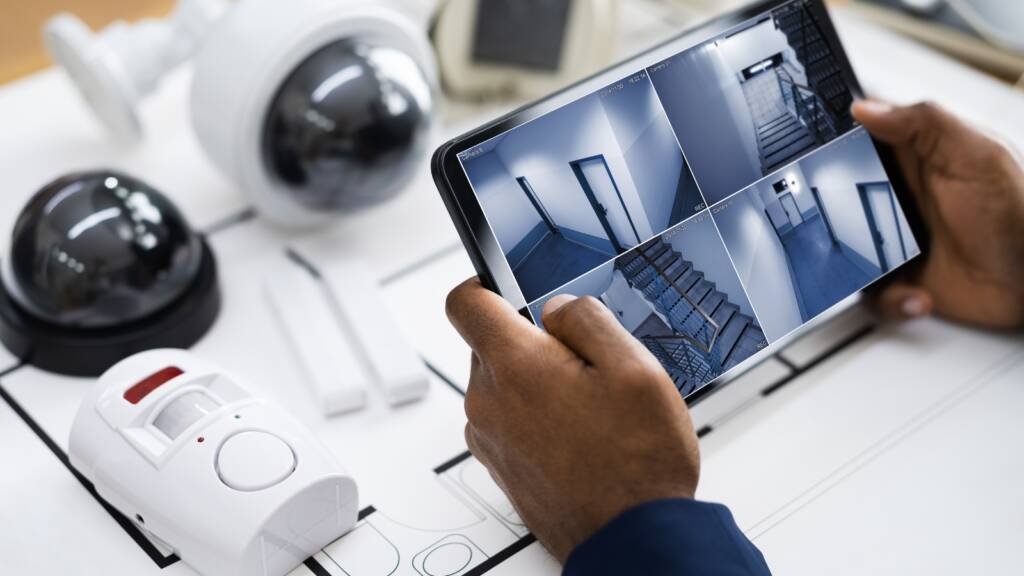
After installation, it’s critical to test everything to ensure your security camera setup is working flawlessly.
- Video Quality: Check the live feed to confirm the image is clear, crisp, and properly exposed.
- Motion Alerts: Walk within the camera’s view at different times of day to ensure alerts are being triggered correctly.
- Remote Access: Use your mobile app to access the live feed from outside your Wi-Fi network to verify remote connectivity.
- Troubleshooting: If the camera is not connecting, check your Wi-Fi signal strength. For recording issues, ensure your DVR/NVR has sufficient storage space and is correctly configured.
Best Practices for Maintenance
To ensure the longevity and effectiveness of your system, regular maintenance is key.
- Clean the Lenses: Periodically wipe the camera lenses with a soft cloth to prevent dust and dirt from obscuring the view.
- Update Firmware: Regularly check for and install firmware updates to patch security vulnerabilities and improve performance.
- Inspect Hardware: Routinely inspect cables and mounts for any signs of damage or wear and tear.
The VortexPrime Advantage
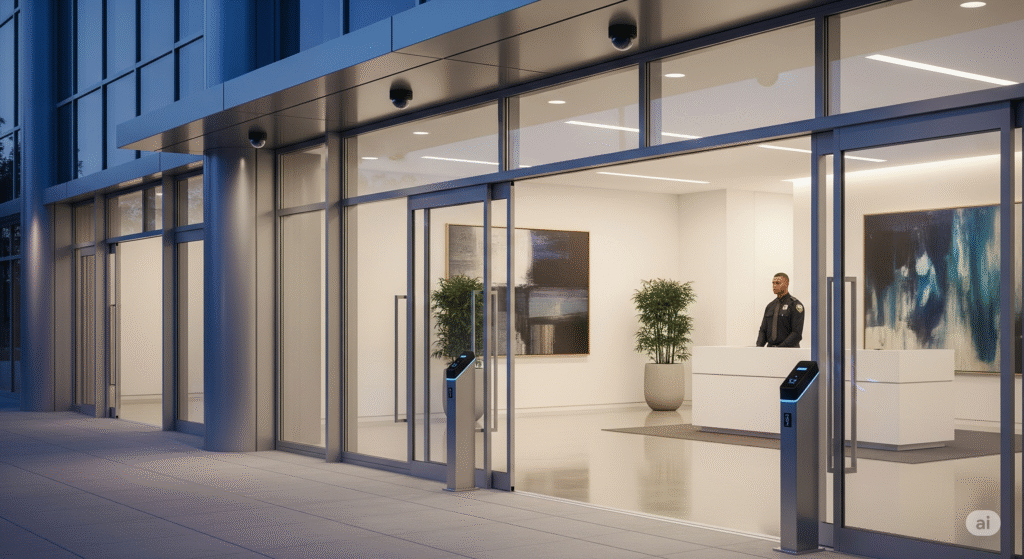
While this guide provides a solid foundation for a security camera setup, advanced security often requires professional expertise. For comprehensive security systems and professional installation, learn more about our services. At VortexPrime, we specialize in delivering cutting-edge surveillance solutions that provide superior protection for your home and business.
Taking actionable steps today will greatly enhance your security posture tomorrow. For a truly robust and reliable security infrastructure, rely on the experts.


